Exporting Items from Alma
There are two ways to export the shelf data: directly from the Alma display and from Analytics.
1) Alma display:

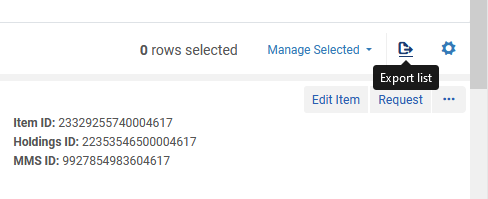
Select "Excel (current view)
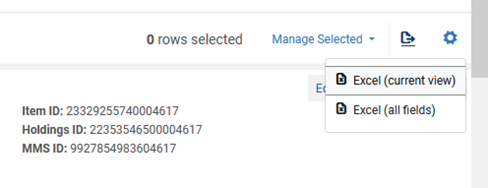
Wait for Excel to finish downloading the data then open the file.
The columns that are needed are:
- Title
- Barcode
- Item Call Number
- Description
Delete the rest of the columns then save the file to S:\SCF Shelves for Archival Materials\YOUR NAME.
- File name is RxxMxxSxx (ex. R11M11S04).
Do the steps for each shelf location.
One of the cons of using Alma display is having to delete columns in Excel, however, you can customize the column display to reduce the amount of columns to delete after exporting the data.
2) Analytics:
Click on "Analytics"
Click on "Access Analytics" under "Create Analysis"
When Analytics opens, click on Create > Analysis > Physical Items
Bibliographic Details > Title (Complete)
Physical Item Details > Barcode > Item Call Number > Lifecycle
Click on the wheel with spoke next to Item Call Number and select Filter
Go to the Operator field and select “begins with”
Go to the Value field and enter shelf locations as many as you want by using the RMS format:
R11M11S04;R11M12S02;R11M12S04 (semicolon is required, no space & the letter must be in caps)
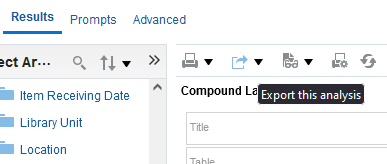
Click on OK then on Results
Export the results

Select "Excel"
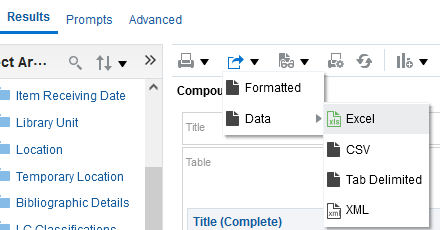
Wait for Excel to finish downloading the data then open the file.
Highlight all column by clicking on the green arrow:
Format > AutoFit Column Width
Click column D (Lifecycle), Sort & Filter > Sort Z to A > Expand the selection
Delete the rows with “Deleted” in column D. Then Delete column D.
Click column C, Sort & Filter > Sort Z to A > Expand the selection
Highlight 8 boxes (20 for clamshells, 40 for thin clamshells and so on) then cut.
File > New > Blank workbook then paste
Highlight all column by clicking on the green arrow then Format > AutoFit Column Width
Save the file to S:\SCF Shelves for Archival Materials\YOUR NAME.
- File name is RxxMxxSxx (ex. R11M11S04).
Do the next 8, 20, etc. boxes until it’s gone. Export more shelf data if needed and do the same steps.